
The short version: In Jr. NBA’s Starter Practice Plan 1, the ball handler dribbles to the middle, jump stops, pivots toward the next line, makes an overhead pass and joins that line. The receiver repeats with the same ball. Start with at least two players in the first line so someone remains available when the ball returns.
Key takeaways
- Keep station letters fixed as players rotate. In the illustrated example, A passes to B, then C, then D, then back to A.
- Jr. NBA asks players to complete the stop, stay balanced through the pivot and establish eye contact with a receiver showing hands.
- Jr. NBA prescribes four one-minute pivot blocks: forward left, forward right, reverse left and reverse right.
Where the lines, cones and ball start
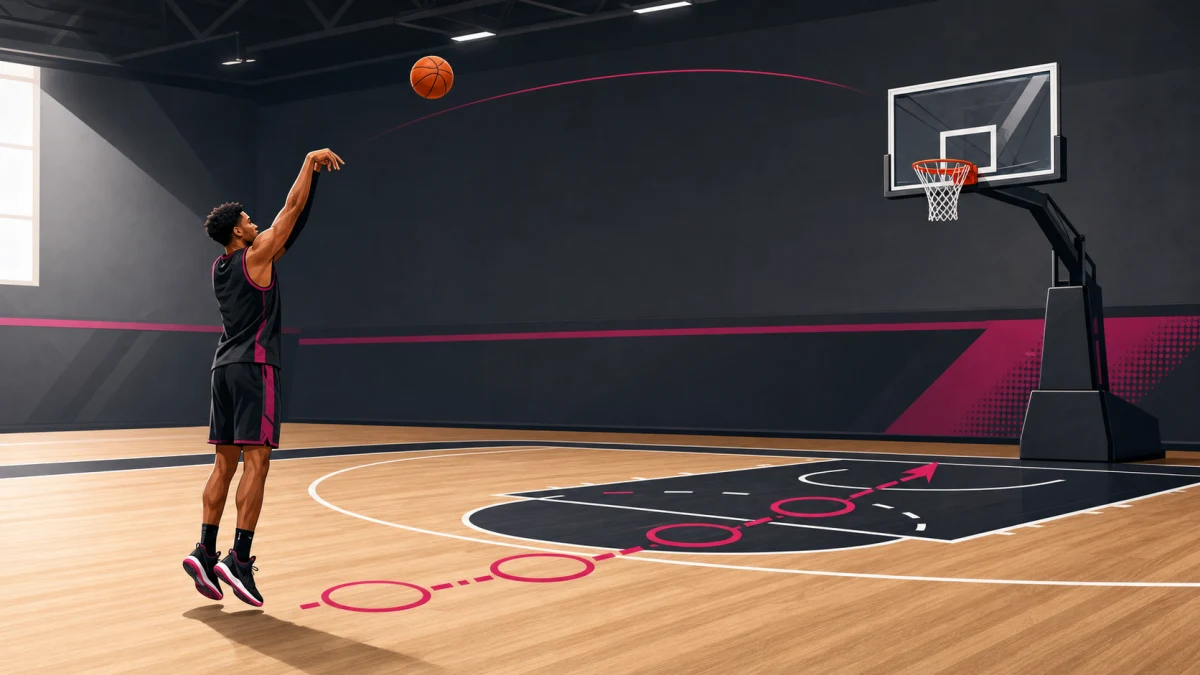
Diamond Passing gives a group a repeating sequence to organize: arrive under control, turn toward a teammate, pass and move into the next line. Jr. NBA’s Starter Practice Plan 1 specifies a dribble to the central cone, a jump stop, a forward pivot and an overhead pass. Starter Practice Plans - NBA.com: Jr. NBA
Jr. NBA sets the drill in a half-court, with cones or other objects forming a diamond and another cone in the center. The starting line needs at least two players and one ball. For the example below, call the stations A at the top, B at the right, C at the bottom and D at the left; X is the central cone. Put P1 and P5 at A, P2 at B, P3 at C and P4 at D. P1 starts with the single ball, B1. These letters, player positions and distances are an illustrative layout rather than measured Jr. NBA specifications.
Swipe sideways to explore the full diagram.
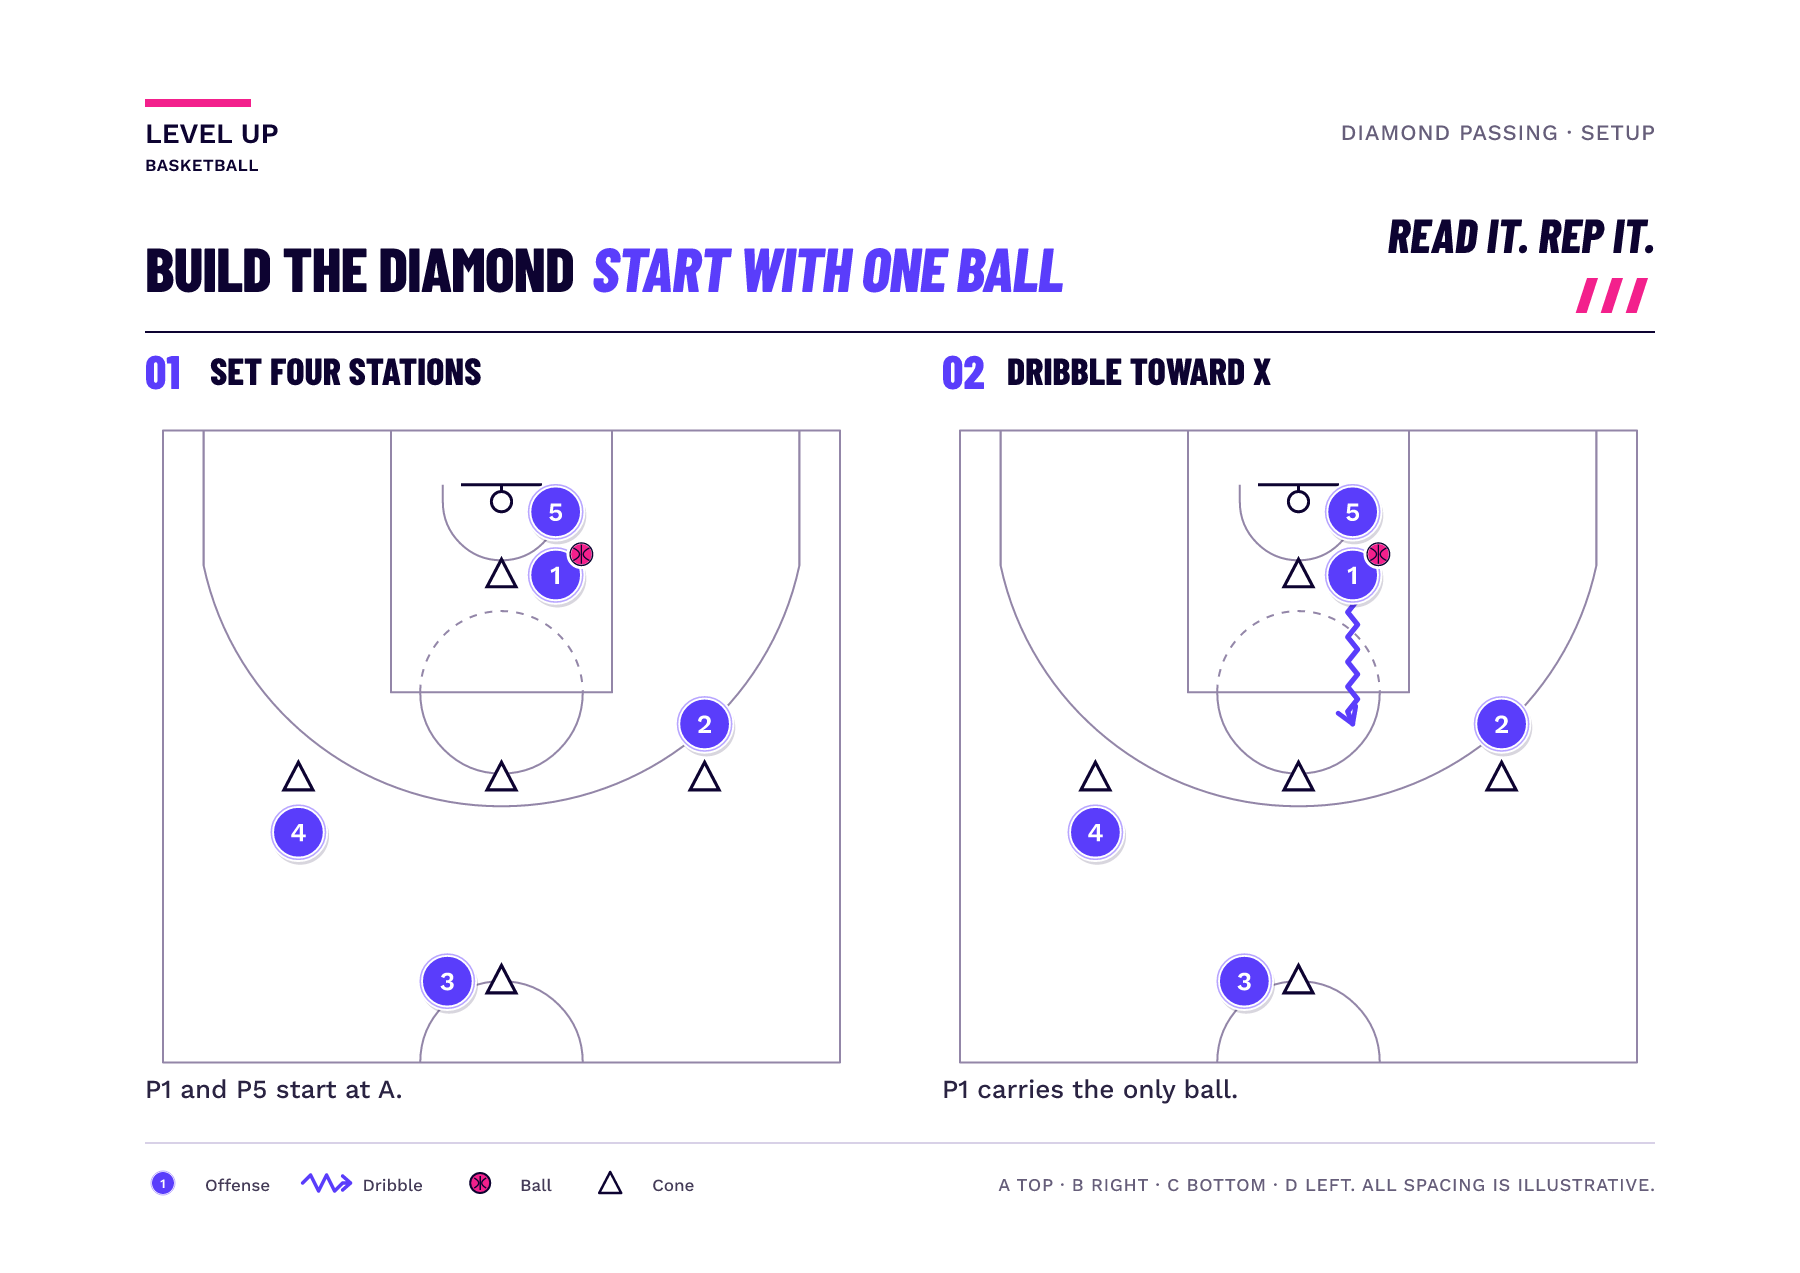
The extra player has a practical job. Jr. NBA requires at least two players in the starting line and tells each passer to join the receiving line. In this example, P1 leaves A and eventually joins B, so P5 keeps A occupied for the returning pass. With only one player at A, that station would be empty on the first trip around the diamond.
Finish the jump stop before turning
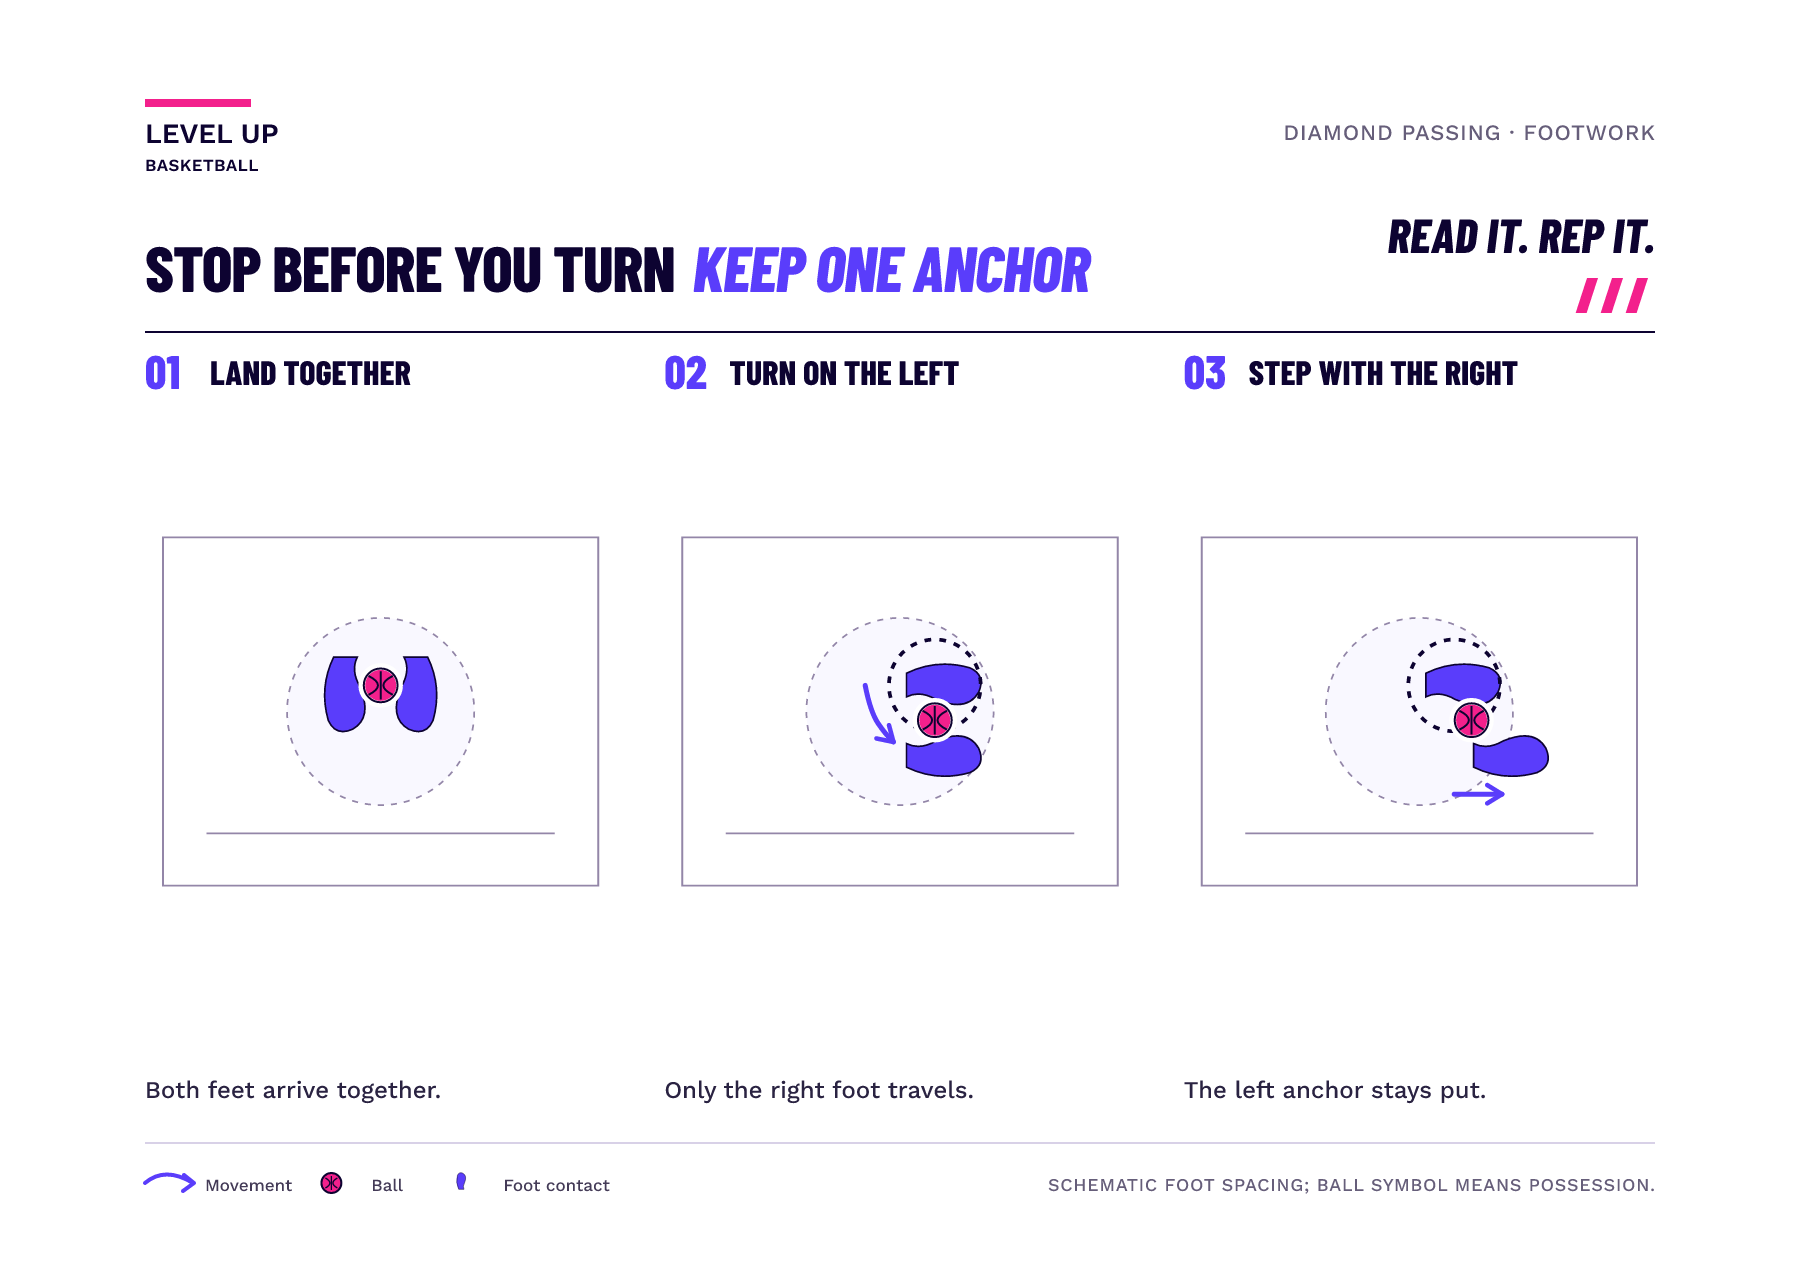
Give the stop its own moment. Jr. NBA’s Starter Practice Plan 1 describes a jump stop as landing on both feet together after the last dribble, with eyes and chest up and knees bent for balance. Its Diamond Passing coaching points also call for a complete stop and a low, balanced pivot. A useful cue is “land, then turn” so the player does not rush straight from the dribble into the pass. 9 24 Jrnba24 Curriculum Starter Pp 01 1 1
For the illustrated A-to-B repetition, P1 arrives facing down the sheet, plants the left foot and sweeps the right foot forward to face B on the right. This is a worked example of the turn. Jr. NBA’s Rookie Practice Plans provide the underlying pivot cue: keep the pivot foot grounded while the other foot moves, and keep the same pivot foot throughout the sequence. Rookie Practice Plans - NBA.com: Jr. NBA Front pivot control practice
Swipe sideways to explore the full diagram.
Face the receiver and make the overhead pass
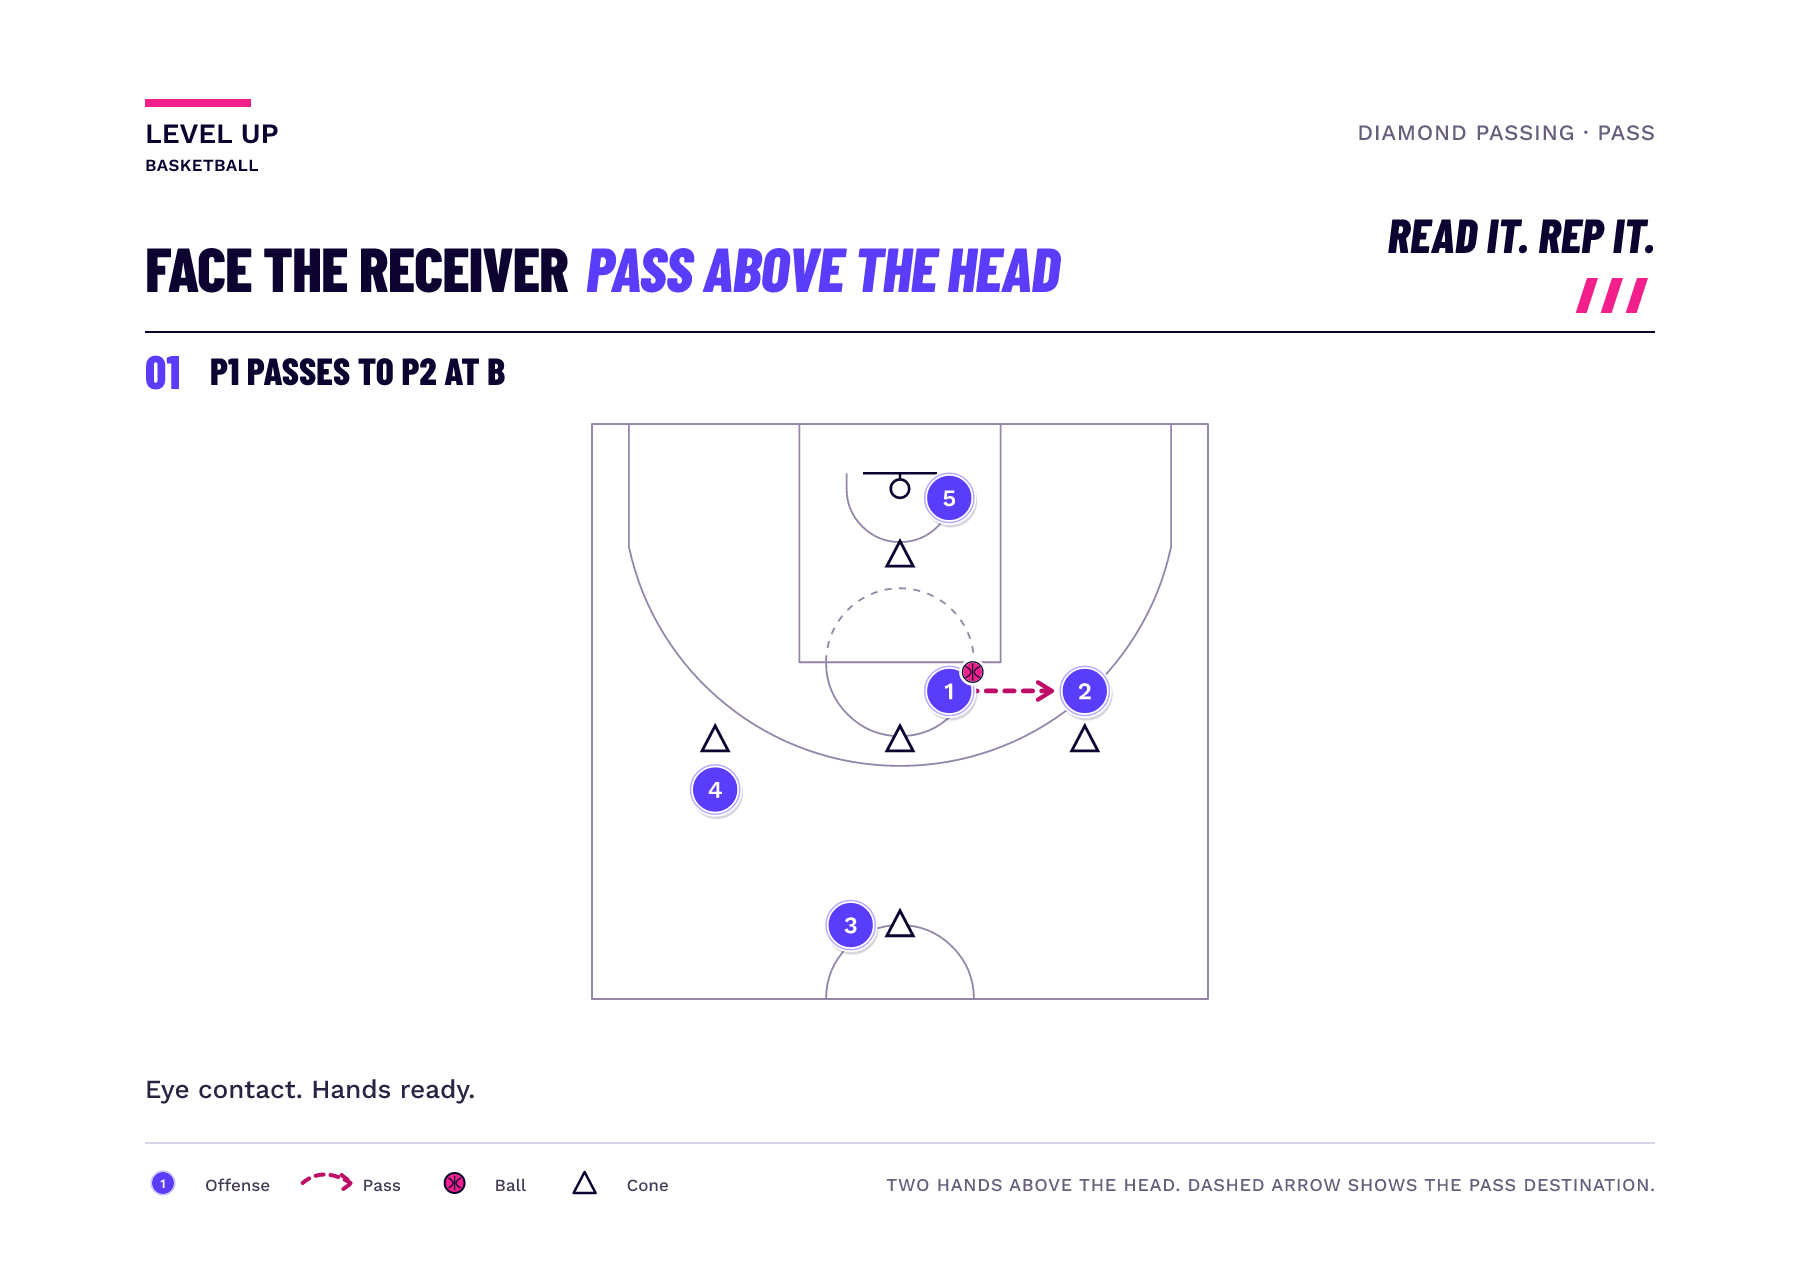
The receiver has work to do before the ball arrives. Jr. NBA asks the passer and receiver to make eye contact and the receiver to show hands as a target. In this example, P2 turns attention toward P1 and presents that target before P1 releases. As a coaching cue, let the target settle rather than asking P1 to pass toward a teammate who is still looking away.
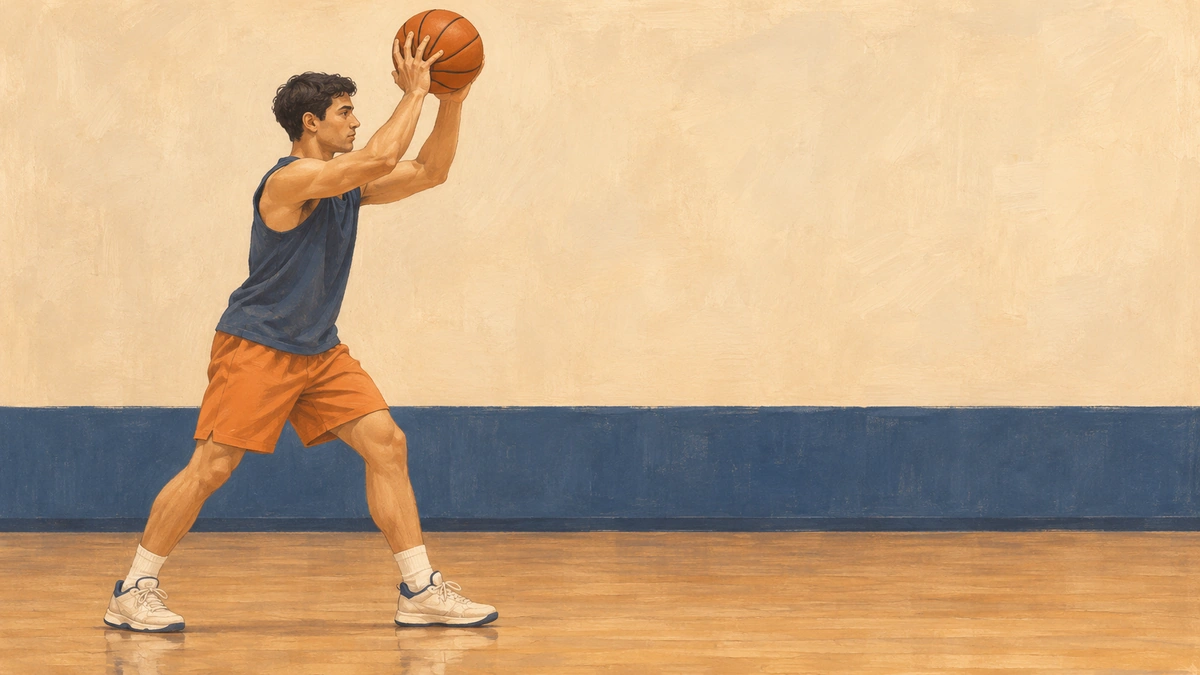
Jr. NBA’s Starter Practice Plan 1 teaches the overhead pass with the ball held firmly above the head in two hands, followed by a step to generate momentum. It also cautions against taking the ball behind the head. Combine that with the grounded pivot-foot cue from Jr. NBA’s Rookie Practice Plans: in our left-foot-anchor example, use the free right foot for the step while the left foot stays planted.
Swipe sideways to explore the full diagram.
Follow the pass and hand over the next repetition
Jr. NBA tells the passer to follow the pass and join the receiving line. The receiver then dribbles to the center and repeats. Here, P1 joins B after passing to P2. P2 now has B1 and becomes the next ball handler; there is no second ball to collect or introduce.
Swipe sideways to explore the full diagram.
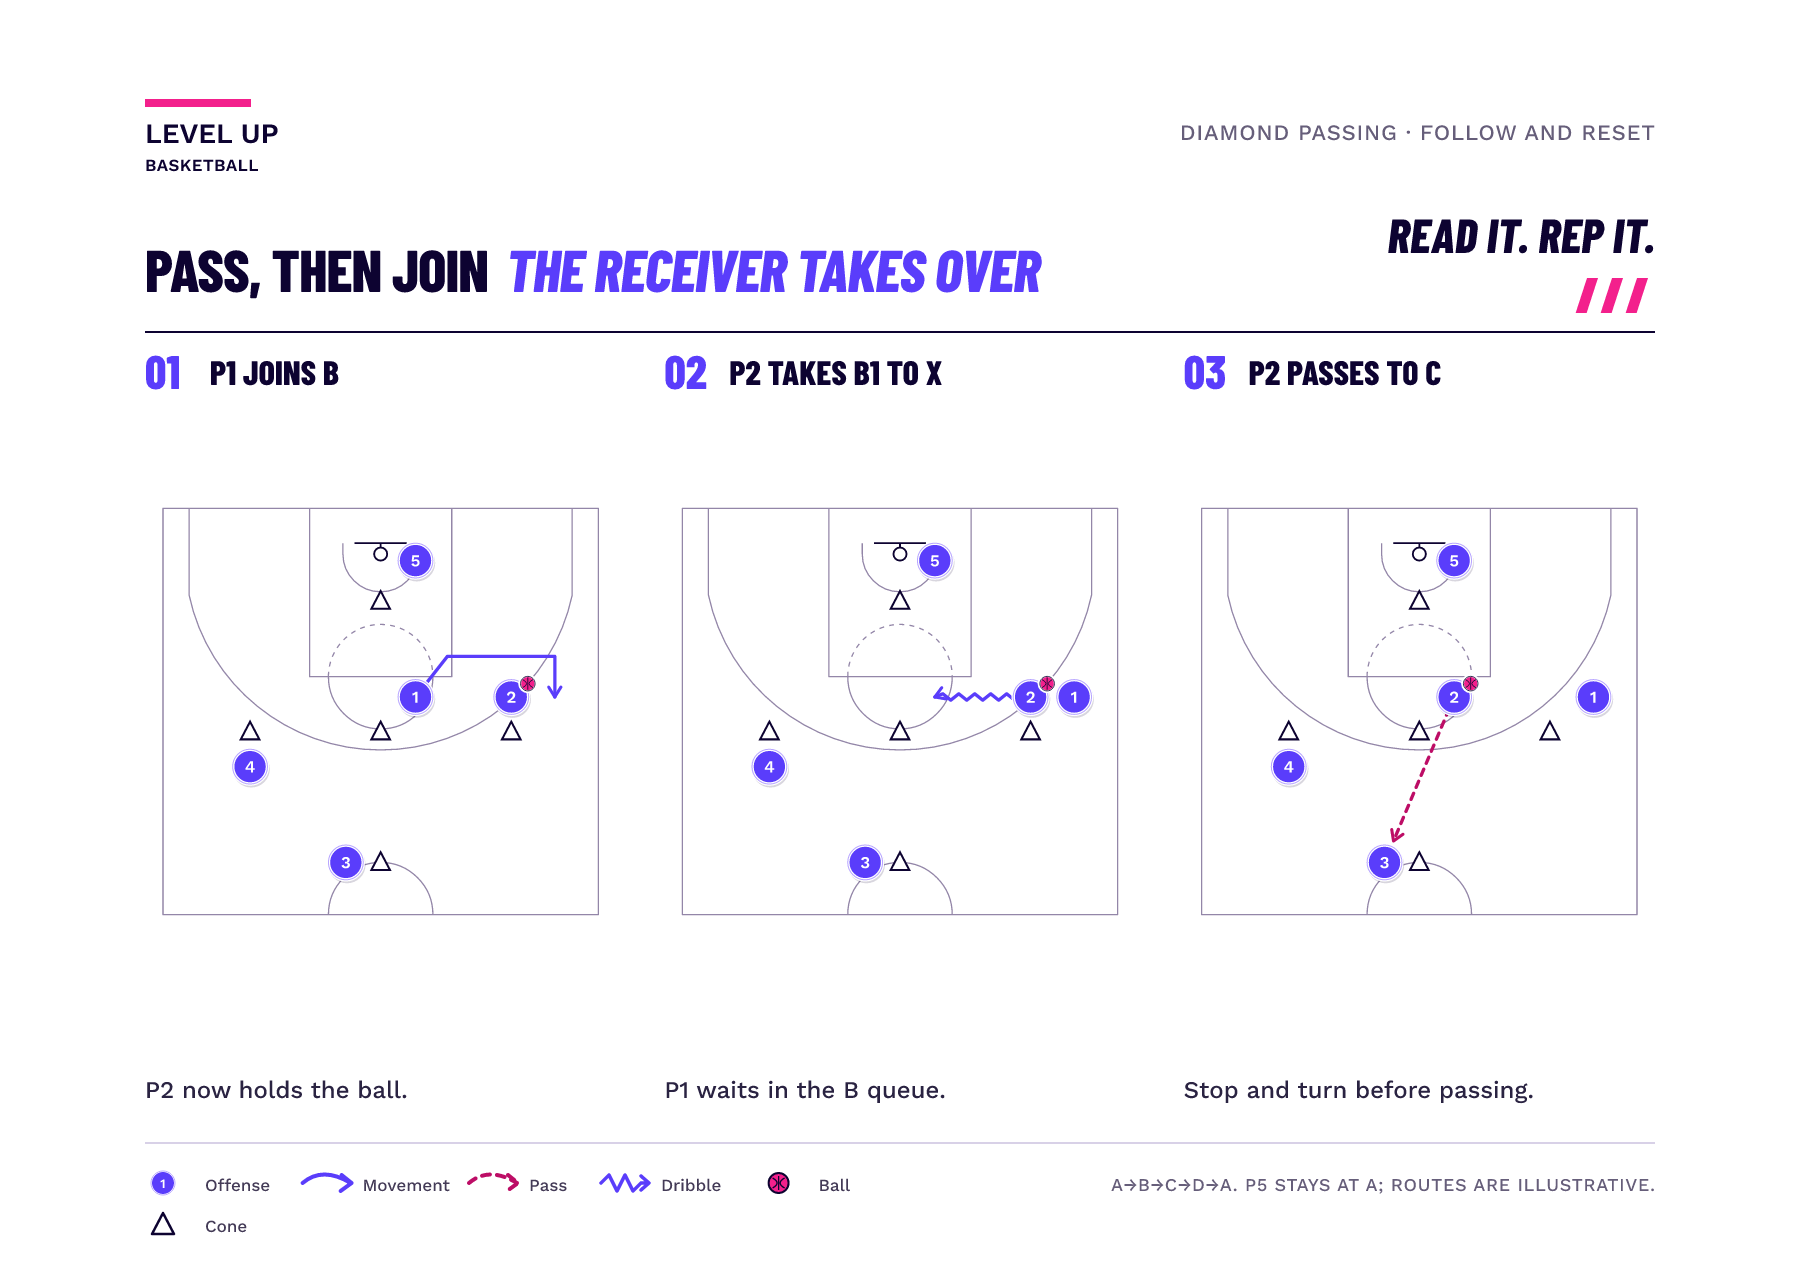
Apply Jr. NBA’s receive-and-repeat pattern around the illustrated cycle: A to B to C to D to A. After passing to C, P2 joins C; P3 takes the ball to the middle and passes toward D. P5 is still available when the ball returns to A. Keep the station letters fixed and let the player numbers travel with the players.
Run the pivot blocks and watch the whole repetition
| Block | Prescribed pivot | Time |
|---|---|---|
| 1 | Forward pivot left | 1 minute |
| 2 | Forward pivot right | 1 minute |
| 3 | Reverse pivot left | 1 minute |
| 4 | Reverse pivot right | 1 minute |
Was this useful?