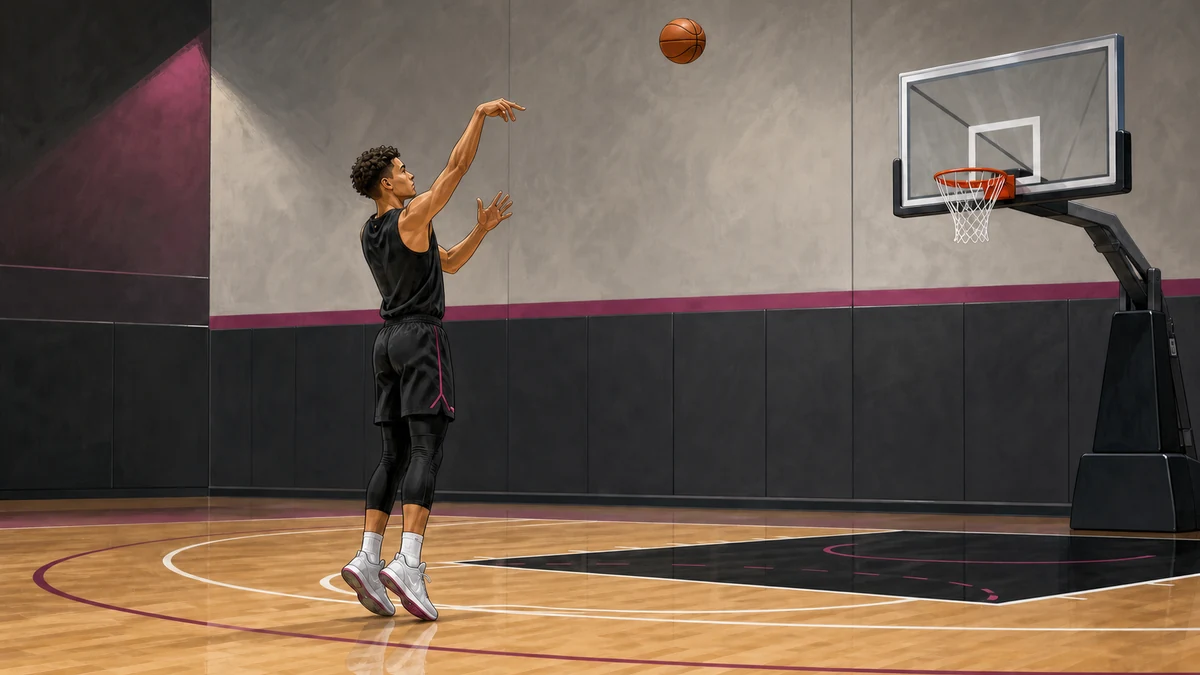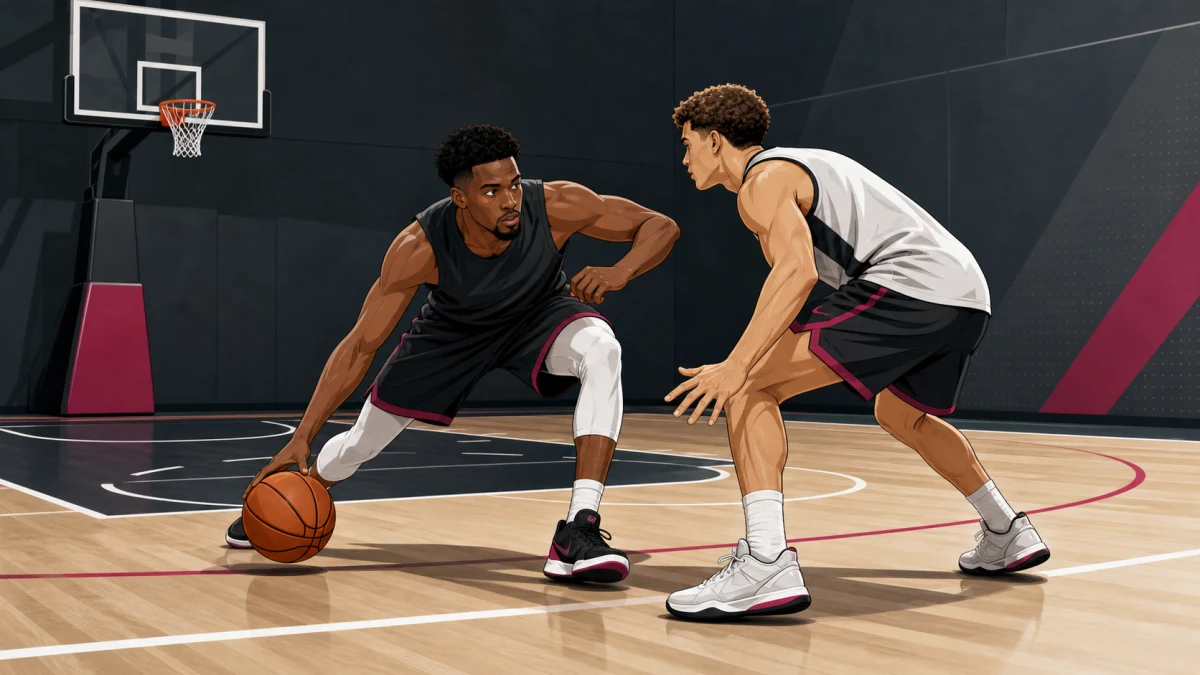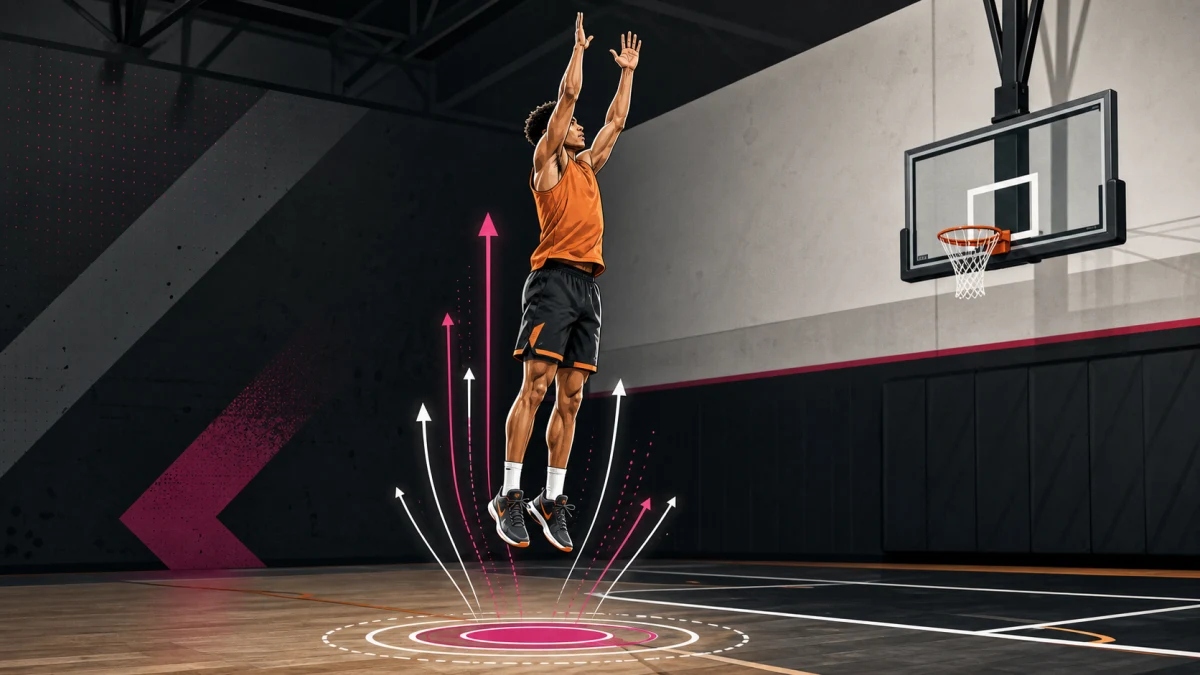

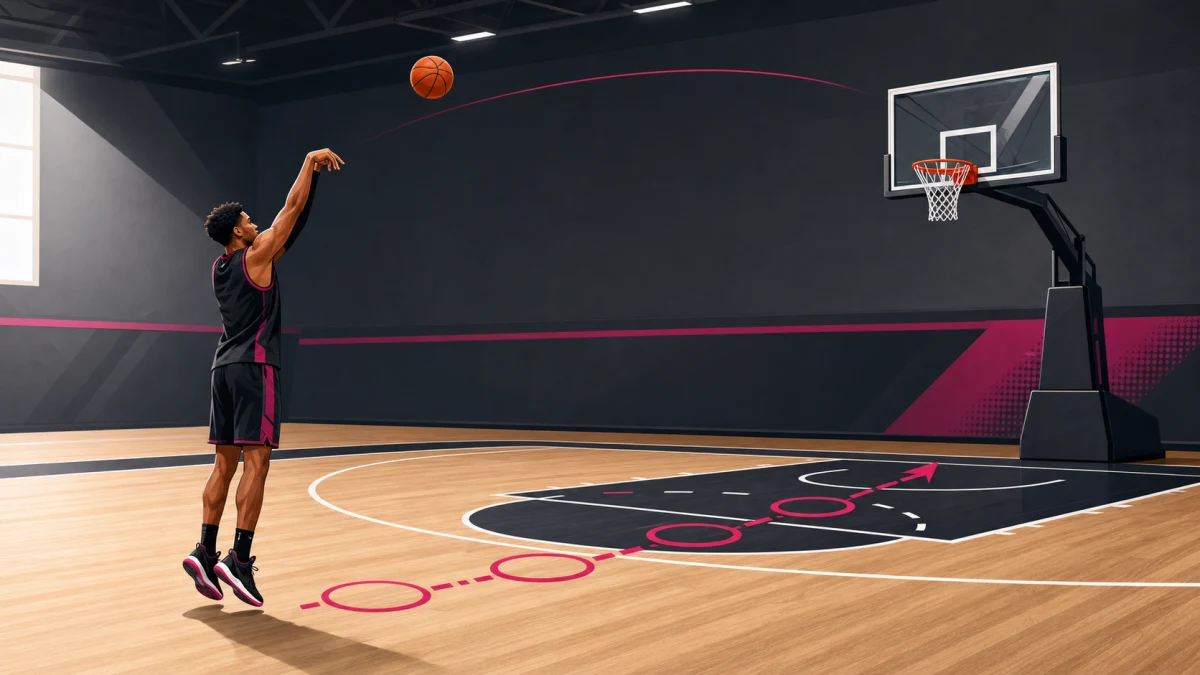
The short version: A reliable jump shot is built in layers: control the ball close to the basket, organize the feet before the catch, repeat a balanced release, then add distance, movement, a defender, and fatigue. These ten drills follow that order. Do not rush through all ten in one session. Select the two or three drills that address your current miss pattern and measure makes, shot quality, and balance.
Key takeaways
- Use a progression. Stable close-range reps come before range, movement, and pressure.
- Track the miss, not only the make. Short, long, left, and right misses point to different problems.
- Vary practice after the movement is stable. Game shooting requires different catches, distances, speeds, and decisions.
- Stop when the shot changes. Fatigued reps are useful only while the player can still organize the movement.
Before the drills: establish a repeatable baseline
Film ten uncontested shots from the front and ten from the side. Record the spot, makes, and miss direction. Look for a base that is organized before the ball rises, a clean path into the shooting hand, a guide hand that does not twist the ball, and a controlled landing. USA Basketball's mechanics guidance emphasizes balance, early target focus, finger-pad control, coordinated delivery, and holding the follow-through. Use those as checkpoints rather than forcing every athlete into one identical stance. Review the USA Basketball shooting fundamentals.
Backspin is also an outcome worth observing. A study of 26 collegiate players found that variability in spin-axis alignment was strongly associated with lateral accuracy. It does not provide a universal hand-placement formula, but it supports a practical cue: repeatable ball control matters more than making one still frame look perfect. Read the backspin and lateral-accuracy study.
1. One-hand close-range calibration
Stand one comfortable step from the basket. Place the guide hand behind the back or lightly beside the ball without adding force. Make five shots from five angles. The goal is not to jump or create range; it is to feel the ball centered on the shooting hand and finish with a relaxed wrist. If the ball spins sideways, move closer and adjust the contact before adding the guide hand.
2. Guide-hand release drill
Add the guide hand and freeze the finish. The guide hand should help position the ball, then separate without pushing across it. Make ten shots while checking whether the palm turns toward the rim. If misses consistently pull toward the guide-hand side, reduce the guide-hand pressure and retest rather than changing the whole motion.
3. Hold-the-landing shooting
Shoot from five to ten feet and hold the landing for two seconds. The feet do not have to land on the exact starting marks, but the player should finish under control without falling sideways or reaching for balance. This makes lower-body organization visible. Count a rep only when both the release and landing meet the standard.
4. Footwork pairs: hop and 1-2
From the same spot, alternate five catches with a two-foot hop and five with a 1-2 step. Present ready hands and organize the feet as the pass travels. The purpose is not to declare one entry universally better; it is to make both available. Advance when neither pattern creates an extra shuffle or a rushed upper body.
5. Five-spot make-and-miss map
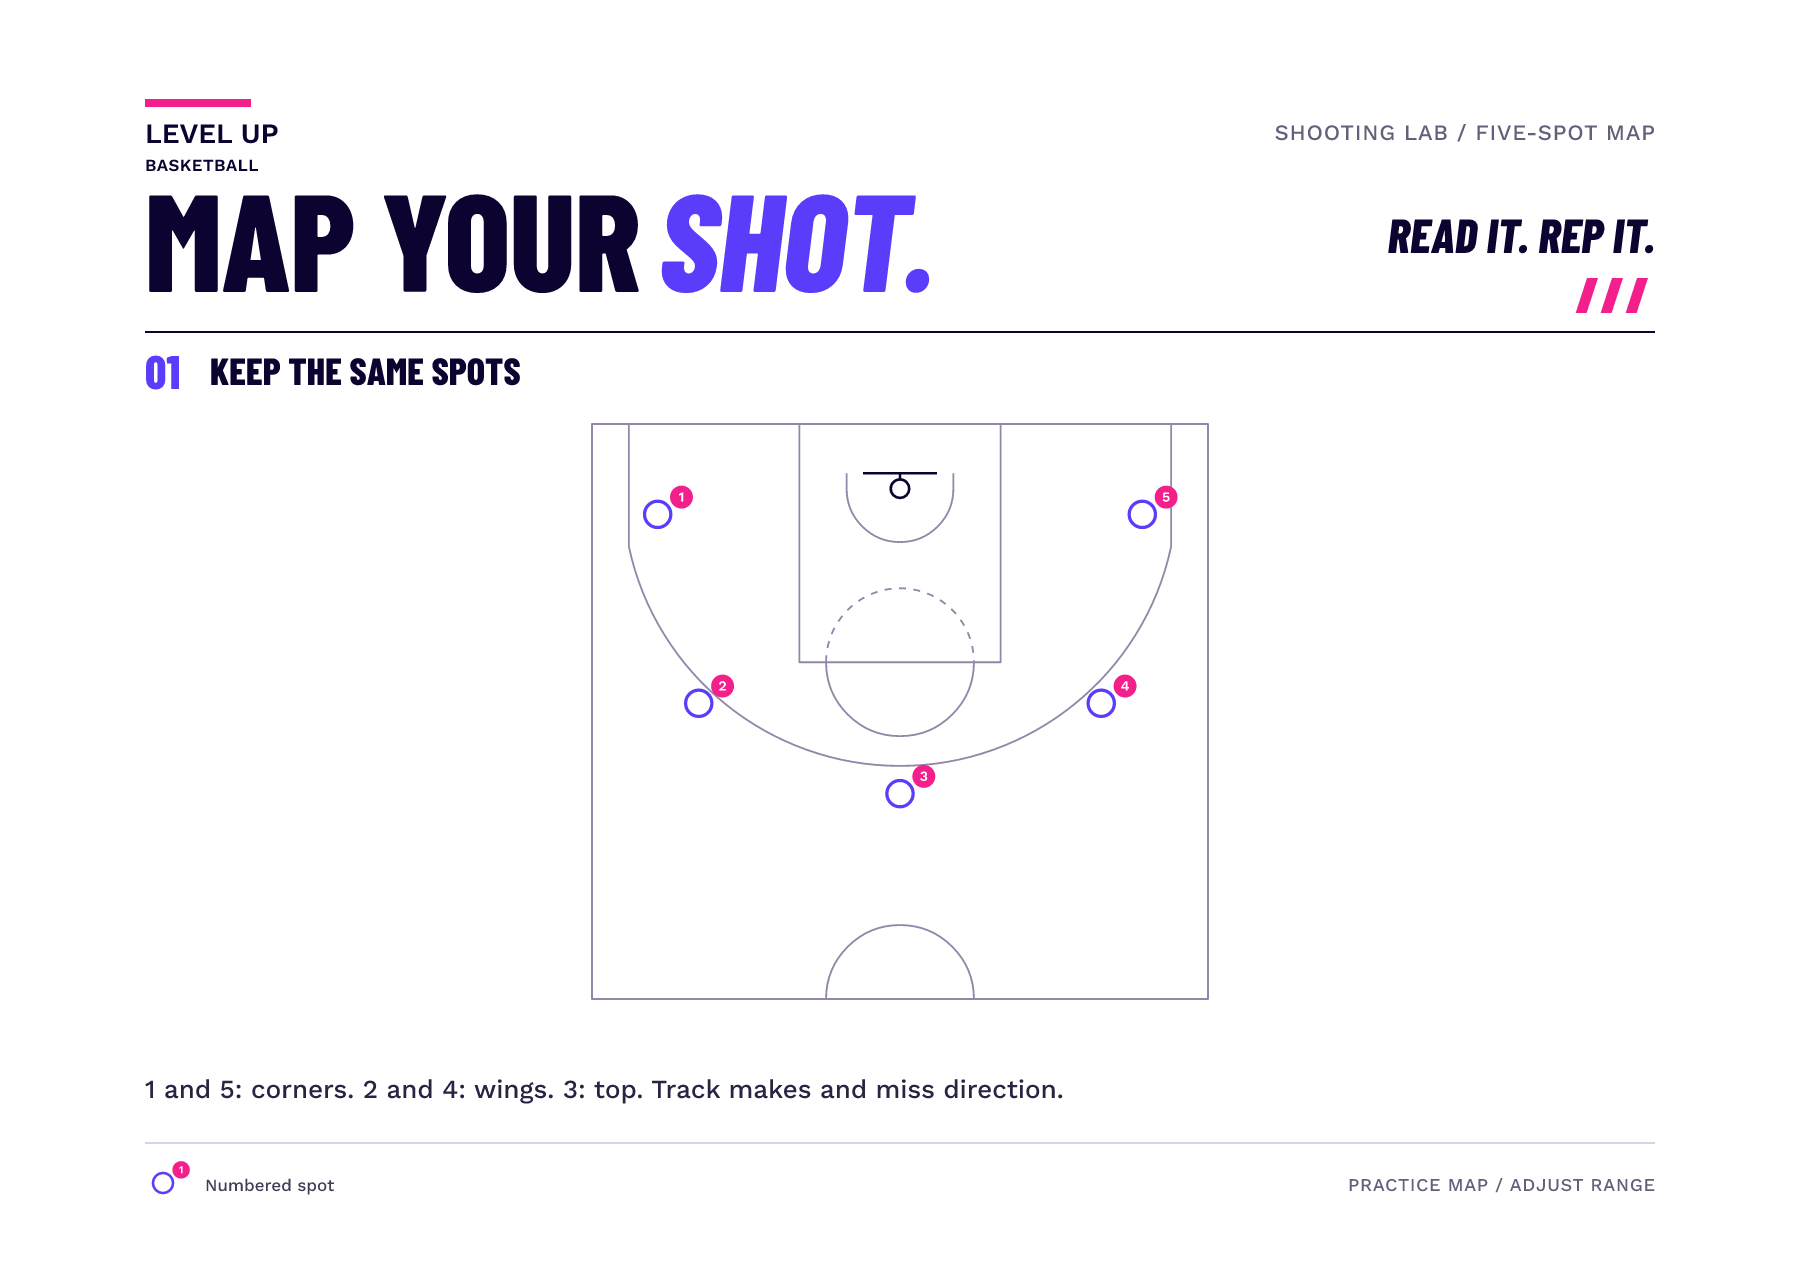
Shoot ten catch-and-shoot attempts from each corner, wing, and the top. Record makes and the direction of every miss. A single percentage can hide a consistent problem; a miss map shows whether the ball is repeatedly short, long, or off one side. Fix one relationship, such as balance or guide-hand action, and repeat the same 50-shot test later.
Swipe sideways to explore the full diagram.
6. Range ladder
Begin where the shot is effortless. Make three of five, then take one step back. If two consecutive sets miss the target or the player begins throwing with the arms, return one step. Distance changes the release task: research comparing successful free throws and three-pointers found that players increased release velocity at the longer distance and changed release height and angle in that small sample. Treat range as an adaptation built on coordination, not as permission to heave. See the shot-distance kinematics study.
7. One-dribble pull-up in both directions
Attack from a wing with one hard dribble, decelerate, and rise into the shot. Alternate left and right. Watch the final dribble and inside foot: the ball must arrive in the shooting pocket without forcing the torso to twist. Begin at midrange, where the player can solve the footwork without also fighting for distance.
8. Relocation with a pass read
Start at the wing, pass to a partner, relocate to the corner or lift toward the top, then catch and shoot. The partner chooses the direction late so the shooter must see the pass and solve the feet. This moves practice from a memorized route toward perception and response.
9. Guided-closeout decision drill
A defender begins several steps away and closes under control. The shooter reads the space: shoot an open catch, use one dribble when the closeout takes away the shot, or pass when neither option is clean. The defender is not there merely to make the shot harder; the defender changes the decision. Score shot quality and decision quality separately.
10. Variable game-shot circuit
Combine a close-range calibration make, a relocation catch, a pull-up, and two free throws. Change the starting spot each round. A 2025 youth study comparing differential and traditional shooting practice found advantages for the variable-practice group on some shooting tests, while transfer to one-on-one scoring was limited. That mixed result is useful: variability can strengthen adaptability, but drills do not automatically become game performance. Review the eight-week youth shooting study.
How to build a 35-minute shooting session
| Block | Time | Choose from | Quality standard |
|---|---|---|---|
| Calibrate | 6 minutes | Drills 1–3 | Centered release and controlled landing |
| Prepare | 8 minutes | Drills 4–6 | No extra foot adjustment; record miss direction |
| Move | 10 minutes | Drills 7–8 | Balanced deceleration in both directions |
| Decide | 8 minutes | Drills 9–10 | Correct read before make percentage |
| Retest | 3 minutes | Original baseline spot | Compare movement and miss pattern |
Fatigue belongs late in the progression and must be monitored. A systematic review found that moderate and severe physical fatigue can reduce shooting accuracy, but the size and pattern depend on the task and population. Use fatigue to test whether the shot remains organized, not to collect broken repetitions. Read the shooting-under-fatigue review.
For the mechanics behind the progression, read how to shoot like Stephen Curry. For more movement options, use the shooting drills library or run the structured basketball shooting workout.
Frequently asked questions
How should a basketball shooting workout progress?
Start close to the basket with repeatable footwork and a balanced release, then add movement, decisions, and game-speed pressure. The progression should preserve shot quality as difficulty increases instead of turning every drill into a race for makes.
Should players count makes or shooting percentage?
Both can be useful, but they answer different questions. A make target creates a clear workload, while percentage shows shot quality across attempts. Track the same drill under similar conditions so the result helps compare sessions rather than reward easier shots.
When should a player stop a shooting drill?
Stop or reduce the difficulty when fatigue changes the player's balance, footwork, or release enough that the drill no longer resembles the intended shot. Productive shooting practice protects technique before adding more speed, range, or pressure.