


One-Footed Balanced Shots Build a Contact-Proof Release
Great shooters don't just need a soft touch; they need an iron-clad core to maintain mechanics under duress. This stationary shooting drill isolates your stabilizer muscles, forcing you to execute perfect upper-body form even when your base is compromised. It is an essential routine for players of all positions looking to improve their shooting percentage on fadeaways, floaters, and shots taken while absorbing contact.
How to Perform This Drill
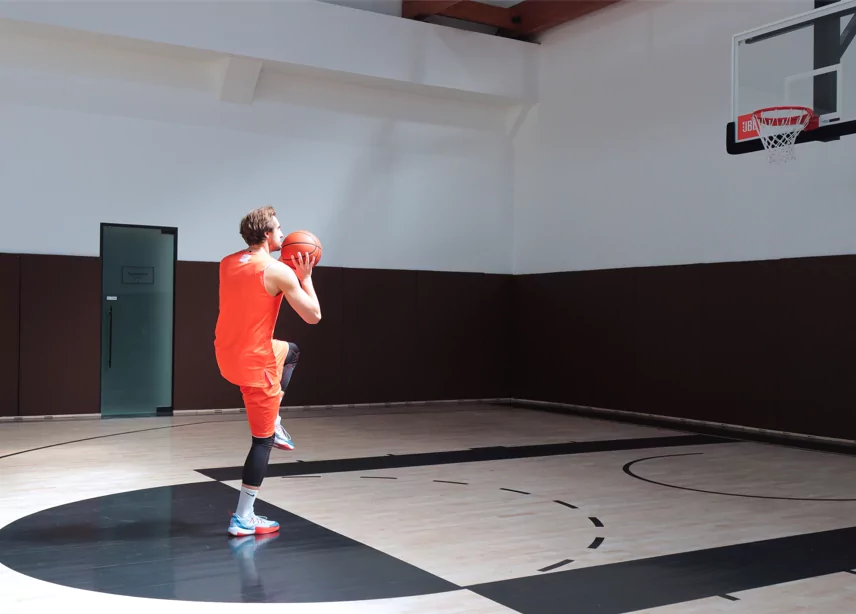
- Position: Start at the free-throw line or inside the paint, holding the ball in your shooting pocket.
- Load: Lift one leg off the ground entirely. Balance on the other foot and drop into a controlled, athletic quarter-squat.
- Align: Check your base. Ensure the knee of your standing leg is stacked directly over your toe and not caving inward.
- Execute: Rise up and release the shot using your normal upper-body mechanics, generating vertical force solely from your single planted leg.
- Finish: Land on that same single foot. Hold your follow-through and your balance for a full second before putting your other foot down.
- Rotate: Make 5 shots balancing on your right leg, then 5 shots balancing on your left leg.
Why This Drill Works
In a real game, you rarely get the luxury of a perfect, wide-open stance. You are often drifting, pivoting, or getting bumped by a defender. By removing one point of contact with the floor, this drill overloads your proprioception and forces your core stabilizers to fire overtime to keep your torso vertical. This builds "vertical core" strength, ensuring that your release point remains consistent regardless of what your lower body is doing or how much contact you absorb in the lane.
Pro Tips
- Watch the Knee: Focus intently on knee stability. If your knee wobbles inward (valgus) during the load or lift, you are leaking power. Keep it aligned with your toes.
- Stick the Landing: Do not hop around after the shot. If you cannot land softly and hold the position, you were likely off-balance during the release.
- Vertical Torso: Avoid leaning too far forward or backward. Keep your shoulders stacked over your hips to simulate good shooting posture.
- Progressive Overload: Start within the charge circle. Do not move back to the free-throw line until you can make 5 clean shots in a row without losing your balance.