


One-Handed Form Shooting Beats Late Closeouts
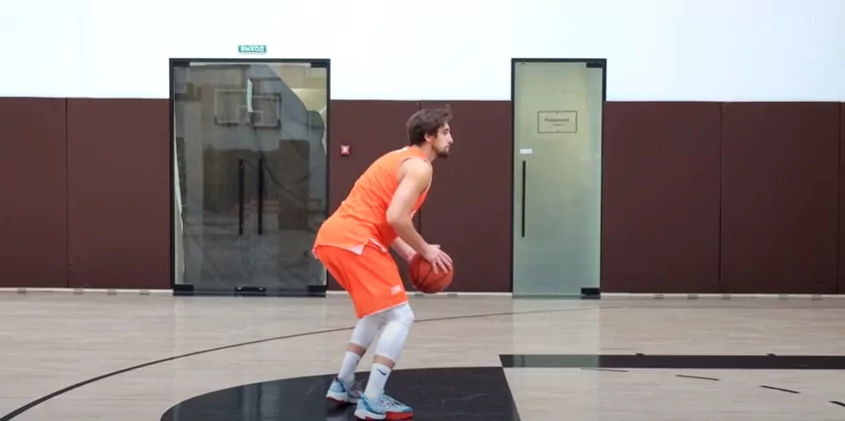
Before you step out to the three-point line, you must build an unbreakable foundation in the paint. The One-Handed Form Shooting drill is the absolute standard for developing a pure, consistent shooting stroke, utilized by everyone from youth beginners to NBA All-Stars. By stripping away the guide hand, this shooting drill isolates your release mechanics, forcing perfect alignment and touch every time the ball leaves your hand.
How to Perform This Drill
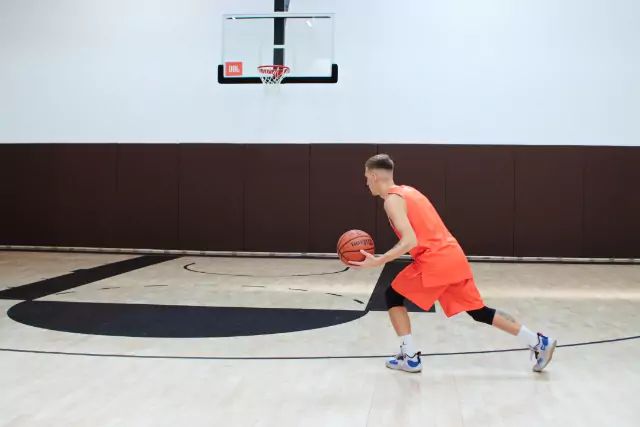
- Position Yourself: Stand directly in front of the rim, just inside the charge circle (about 3-4 feet away). Position your feet shoulder-width apart with your shooting foot slightly forward for balance.
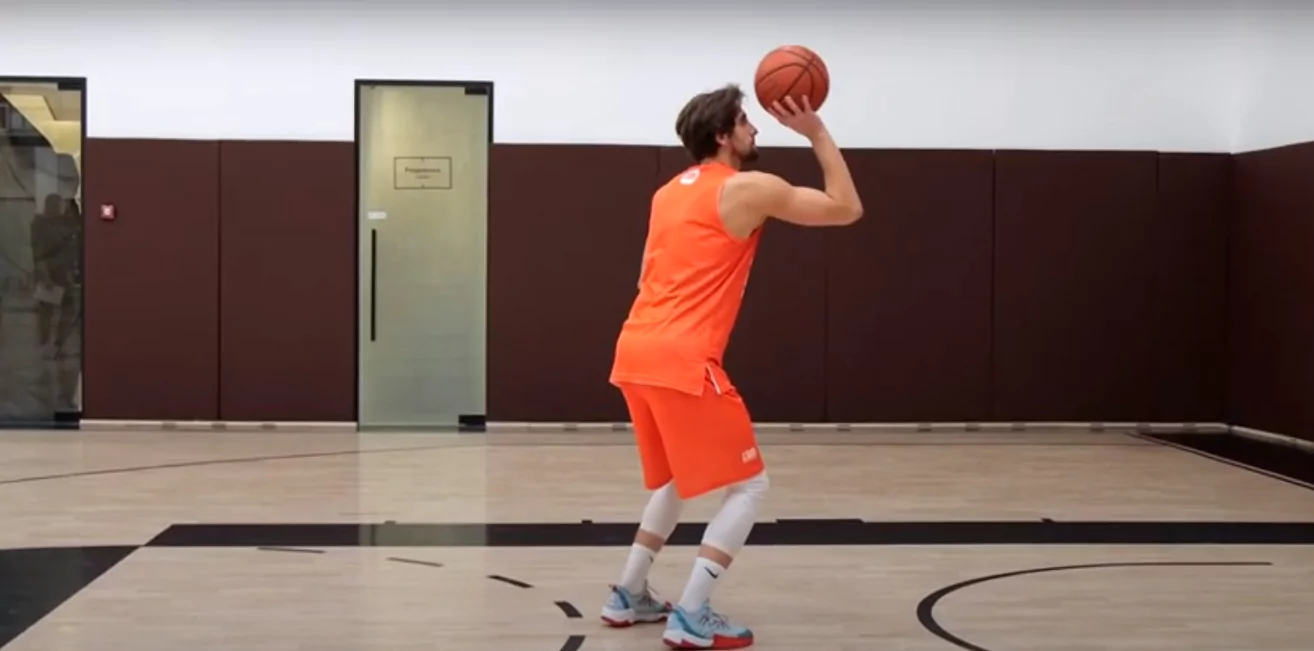
- Set the Pocket: Place the ball in your shooting hand with your palm facing up and fingers spread wide. Your elbow should be directly under the ball, creating a 90-degree "L" shape with your arm.
- Remove the Guide Hand: Place your non-shooting hand behind your back or relaxed at your side. This ensures your shooting arm does 100% of the work without interference.
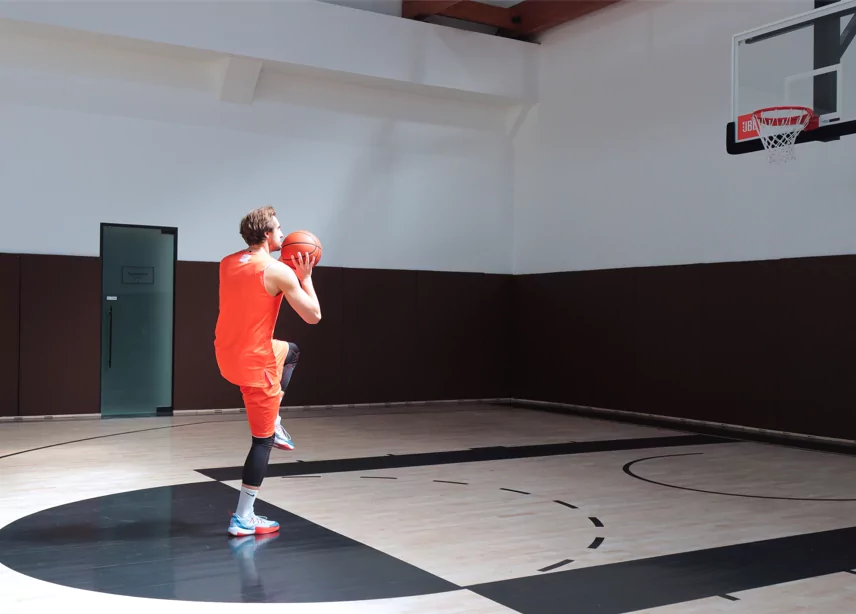
- Execute the Lift: Smoothly lift the ball by extending your legs and shooting arm simultaneously. Keep the ball moving in a straight vertical line close to your body.
- Snap the Release: As your arm reaches full extension, snap your wrist aggressively. The ball should roll off your index and middle fingers last to generate perfect backspin.
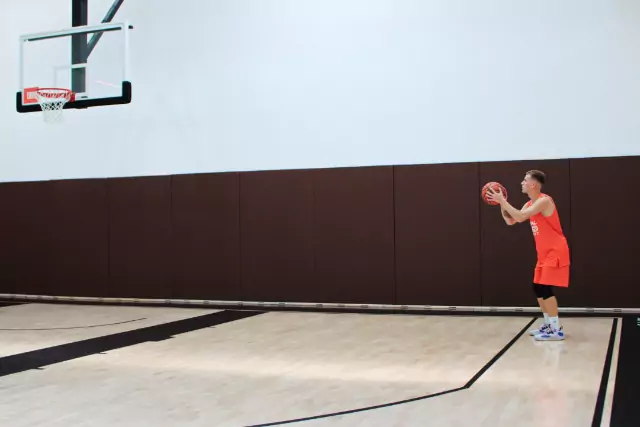
- Stick the Landing: Hold your follow-through high until the ball hits the floor. Your hand should look like it's reaching into a cookie jar on a high shelf.
Why This Drill Works
This drill works because it uses the principle of isolation to correct mechanical flaws that often go unnoticed during game-speed shooting. By removing the guide hand, you immediately expose if your elbow is flying out (chicken wing) or if you are thumbing the ball, both of which cause left-to-right misses. It forces you to develop a "soft touch" and perfect backspin, establishing the muscle memory required for a high-percentage shot when you eventually move back to game range.
Pro Tips
- Check Your Elbow: Before you shoot, look at your arm. If your elbow is sticking out to the side, your shot will drift. Tuck it in so it aligns vertically with your knee and the rim.
- Find the Valve: Line up your middle or index finger with the air valve on the basketball. This gives you a visual cue to ensure the ball isn't slipping sideways in your palm.
- Demand a Swish: Don't just settle for a make. At this distance, your goal is a "clean" make where the ball doesn't touch the rim. If it hits iron, your arc is likely too flat.
- Analyze the Return: If your rotation is perfect, the ball should bounce right back to you after a swish. If it bounces left or right, your release wasn't straight.